
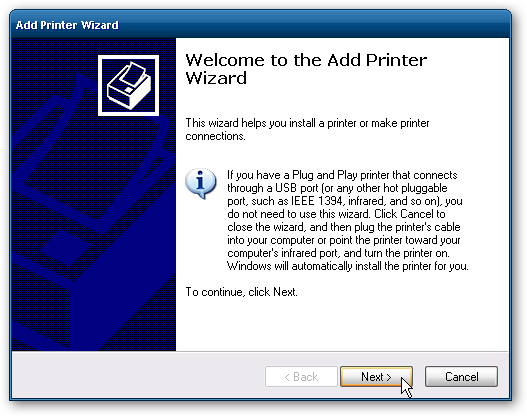
To set up the shared printer in XP you will need to go into Printers and Faxes from the Start menu and kick off the Add Printer Wizard.
Now select “A network printer, or a printer attached to another computer” then hit Next.

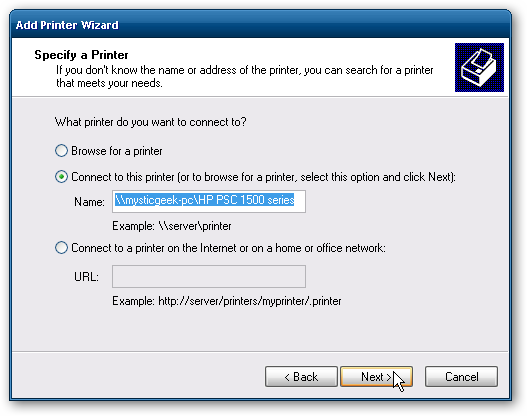
Next select “Connect to this printer…” and type in the path for the printer connected to the Windows 7 machine and click next.
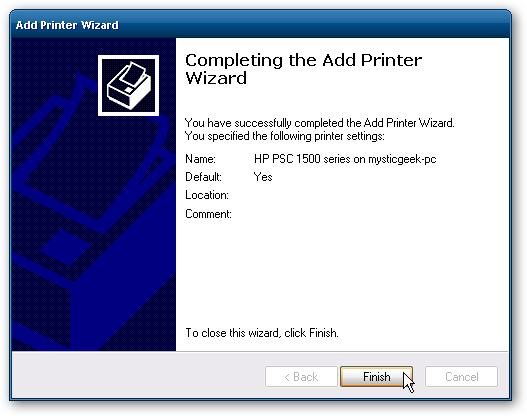
Now click Yes to the confirmation message.

Then click Finish the printer to install and complete the Wizard.
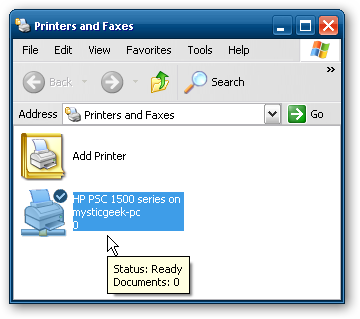
In some cases you will need to install the x86 XP drivers for the shared printer because the Windows 7 drivers are not compatible with XP. When everything is installed open up Printers and Faxes to find the shared printer.
This should help you get started with sharing your files and other devices with your Windows 7 machine. When I first started I was able to see the printer on XP right away because I had a HomeGroup set up, but once I deleted it I needed to share the printer like you would for a workgroup. You might also have to do a couple restarts of the XP machine for it to see the shared resources on Windows 7. If you have had any experiences with sharing between Windows 7 and XP leave us a comment!
For More Information please vist the following link.
http://windows.microsoft.com/en-IN/windows/homegroup-help#homegroup-start-to-finish=windows-7&v1h=win8tab1&v2h=win7tab1